How to start a Blog Or Website for your Business
THIS POST MAY CONTAIN AFFILIATE LINKS. PLEASE READ MY DISCLOSURE FOR MORE INFO.
So do you want to start a blog or website? You came to the right place. Blogging has become such an extra hustle for me which is why I want to show you how to start a blog. This step-by-step tutorial will show you how you can easily start your own blog. Setting up a blog takes less than 30 minutes and is not super hard. And you can start your own blog for as low as $3.95 a month with Bluehost.
I highly recommend you to self host with Bluehost as I use them. Plus, you save a lot of money when you sign up for the 12 month plan.
Blogging is for ANYBODY, no matter what your career is, blogging can be a nice hobby to share your knowledge with the world as well as bring in a little extra income. Doctors, lawyers, seamstress, home improvement folks, it doesn’t matter what specialty you have, you can definitely share your knowledge with the world!
So Why START A BLOG?
There are so many amazing reasons to start a blog. Whether you want to do it part time or full time, it can definitely be beneficial to you. Not only do I try to share helpful information to inspire others but many times, I blog as encouragement to myself which serves as a constant reminder for me. The extra income is an added bonus. There are a ton of positive reasons to start a blog. Some of the main reasons people start a blog are:
[wc_box color=”inverse” text_align=”left”]
Part time:
- Exposure–Get your name/brand out there
- Become an expert in a field or;
- Extra income
Full time:
- Stay at home and;
- Be your own boss and work for yourself
[/wc_box]
Depending on how serious you want to take your blog, there are some serious bloggers making a killing from blogging full time. Be mindful if you are looking to truly monetize your blog, it will take quite a bit of hardwork and dedication. Check out some these mega bloggers’ income reports:
- Smart Passive Income Report – SPI makes over $130,000 per month. See the income report here.
- Making Sense of Cents– Makes over $100,000/month. See the Income Report Here.
I’m no where near that amount, but I also do not blog full time. So depending on what’s your motive, a blog or website is always good to have in your pocket.
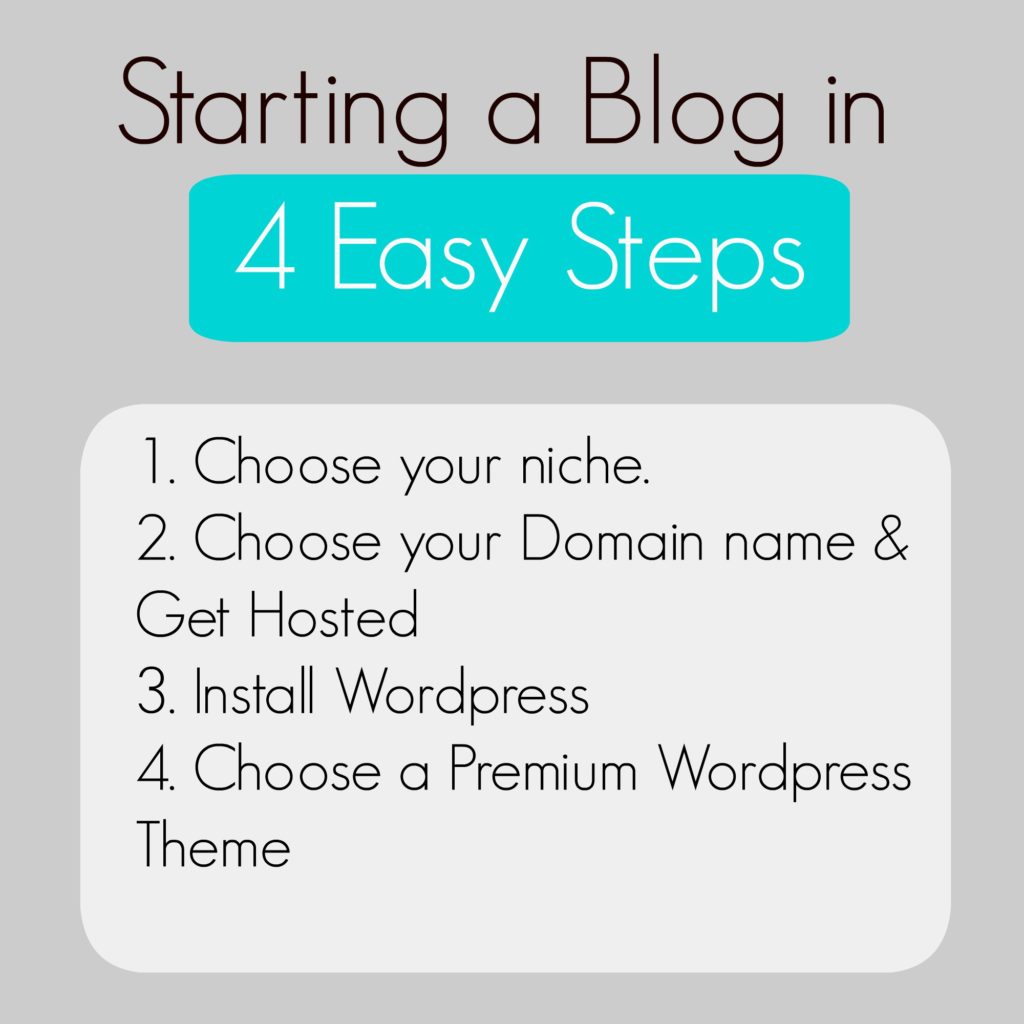
Step 1: Choose Your niche
What are you interested in blogging about?
What are you good at and skilled in?
Example niches you can pursue if you are a:
- Doctor- Health blog
- Seamstress- How to sew & DIY tutorials
- Contractor- Home Improvement blog
- Mommy- Mommy & Baby Blog
- Writer- Help writers & offer coaching
- Boutique owner- Fashion inspiration
- Personal Trainer- Fitness blog
- Chef or Food Lovers- Cooking & recipe Blog
And the list goes on…
So decide what you would like to start a website about and move on to Step 2.
Step 2: Choose your domain name & Get Hosted
Your domain name is your www.BLOGNAME.com. Think long and hard about your site name. PICK ONE YOU LOVE!
Next you want to choose a hosting and install WordPress.
For those who don’t quite understand what and how domains, hosting, WordPress, and themes work, see the explanation below comparing it to your physical home:
[wc_box color=”primary” text_align=”left”]
Domain = Your physical address
Hosting = Home Foundation
WordPress = Home Blueprint/framework
Theme = Your interior/exterior finishing touches of your home
[/wc_box]
Hopefully that gives you a better idea of the terms and how they all work together.
My blog is hosted with Bluehost and I’ve been extremely happy with them. And best of all, they make things so simple! They have a 1 click WordPress install. And as a Bonus, purchasing hosting through my links with Bluehost also includes a FREE domain name. Yes, For free! (I indeed paid for mine, because unfortunately I was switching from a previous website and already owned one.) So learn from my mistakes and don’t waste money!
Why not a free platform? You might be thinking well I can start a blog for free with Blogger, Blogspot, or any the others. But there are ton of reasons why that is a bad idea. I say that because if you ever want to make money on your blog, then you HAVE TO BE SELF HOSTED. You should setup a WordPress blog on Bluehost. Bluehost is extremely cheap and you can do as you please with your site. You can run direct advertisements, affiliate links, or any other method of monetizing on your blog with Bluehost, all of which are restricted through a free platform. It is rarely likely you’ll be able to make money with those platforms and businesses first question if your site is self hosted, which is why you would want to go with Bluehost.
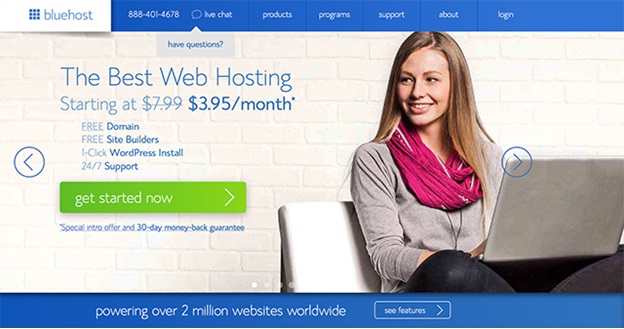
To get started with Bluehost, here are my step by step instructions. Click this link to purchase hosting with Bluehost, it will open in a new window and then follow along with me here. The pictures below are for demonstration.
To begin, sign up first by clicking that big green button “Get Started Now”.
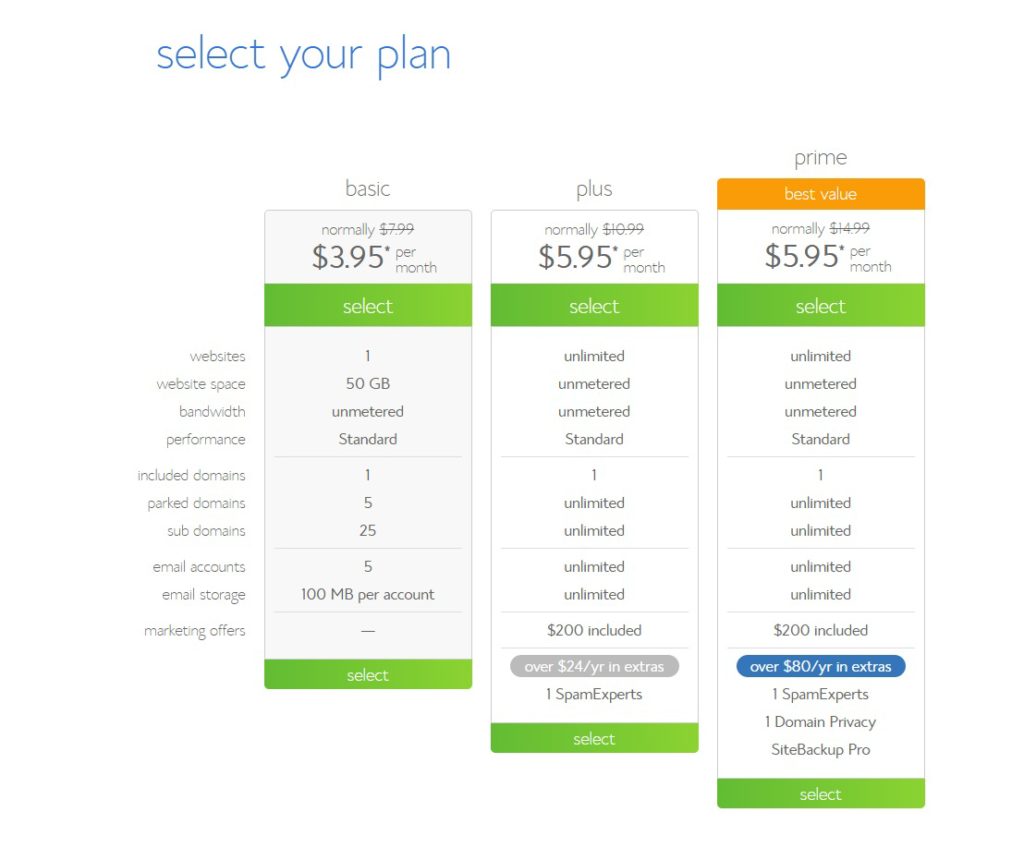
- Select the plan you are interested in.
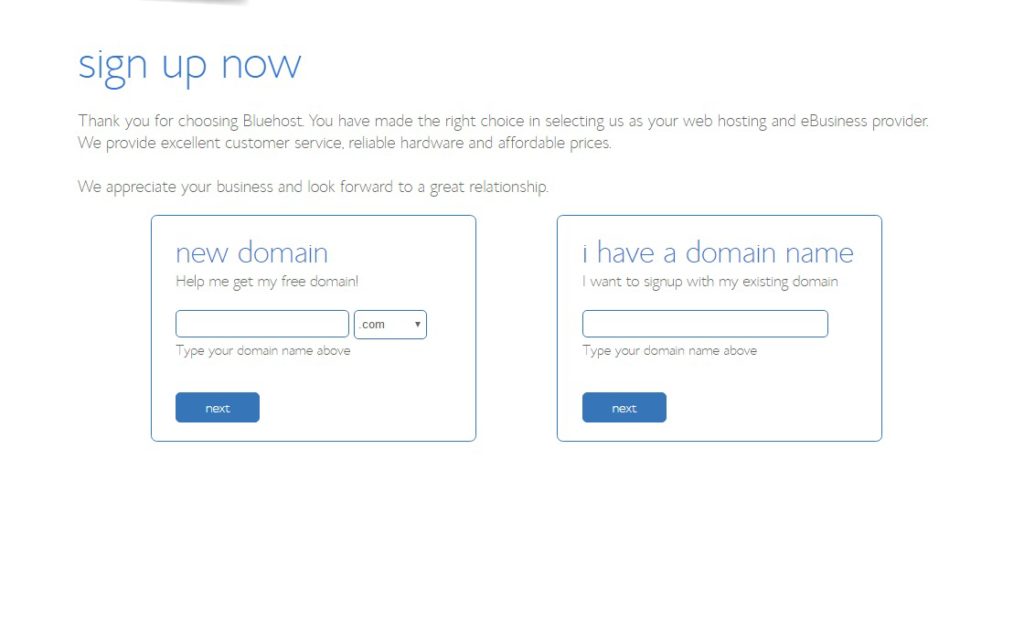
- Enter in a new domain name you wish to use or transfer an existing domain you already own and hit the “next” button. Note: If you get your domain directly through Bluehost, the whole process becomes very easy! The domain for the first year is FREE as long as you buy 12 months worth of Bluehost web hosting.
- If you are unsure, there will be a popup that will allow you to choose your domain later.
- However, if you are transferring a domain, follow the instructions once you click next. Follow the steps to transfer!
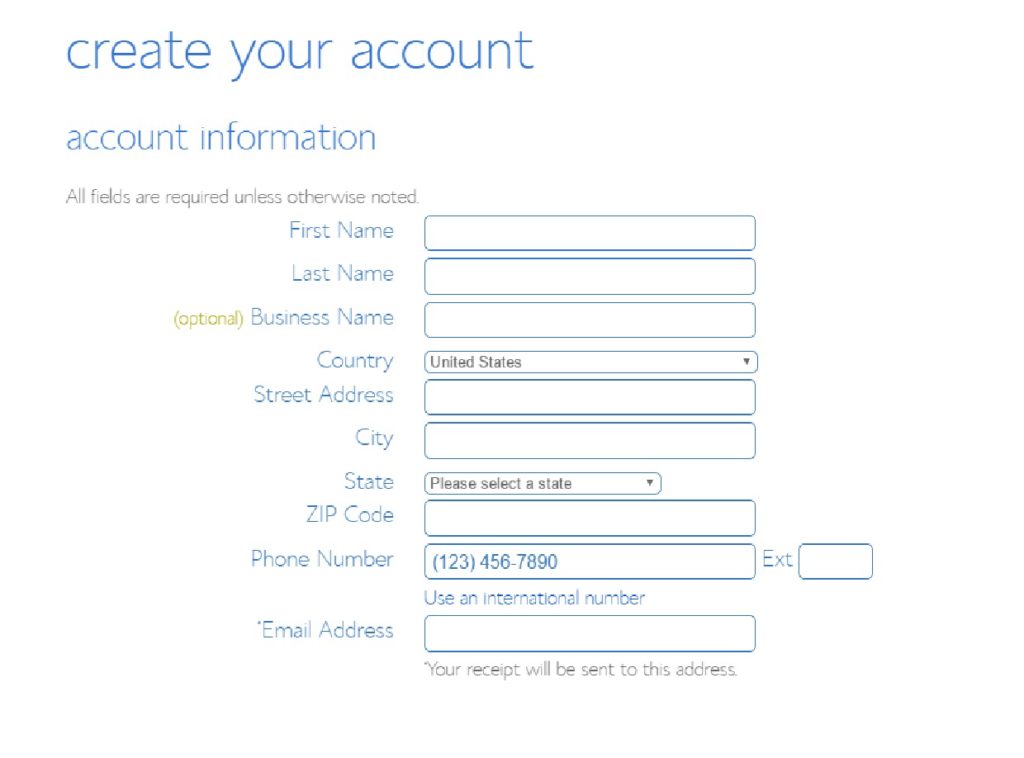
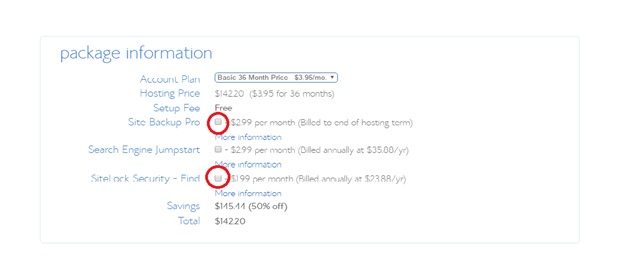
- After that, enter your personal information, choose a plan, and a payment option.
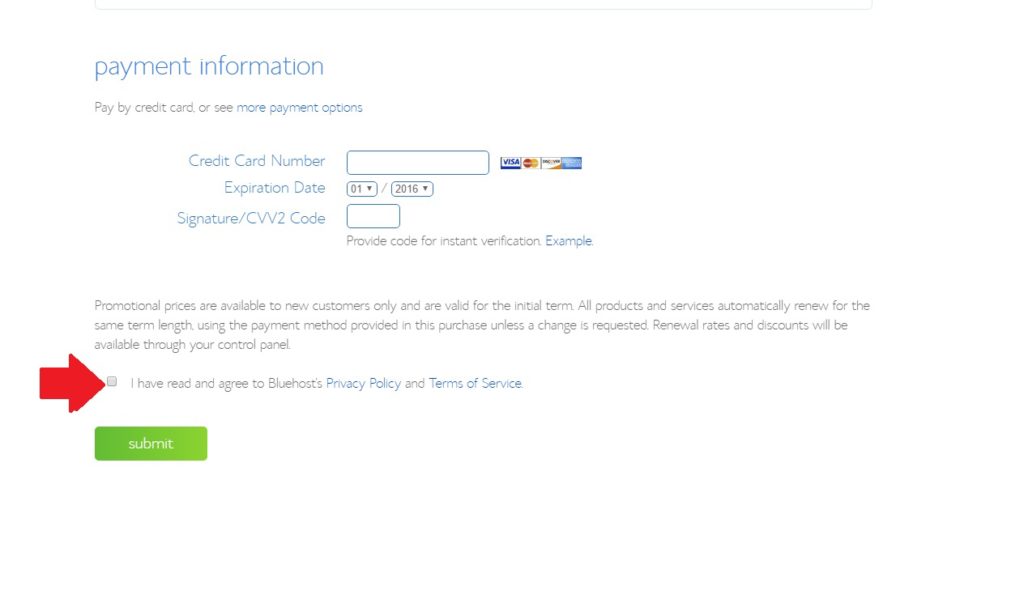
- Enter in your billing information. Then be sure to read the service agreements and check the box to agree to them. Click the blue “next” button to continue.
Step 3: Install WordPress
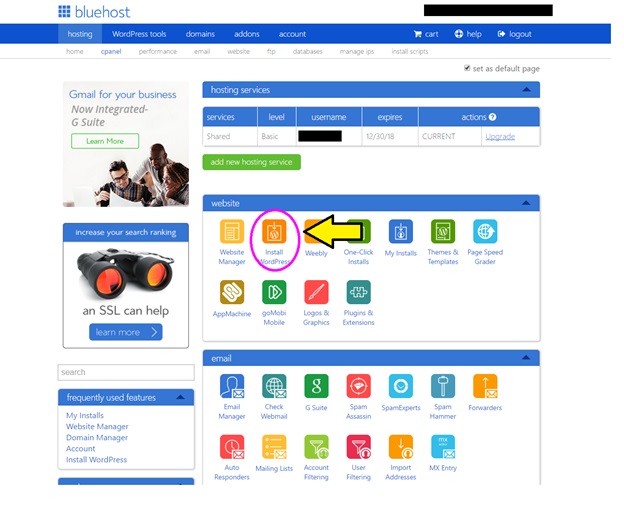
Now it’s time to install WordPress. Bluehost makes it super easy to create a WordPress blog. It’s just a 1 click install. . Once your account has been set up and you have your password created, you will log into BlueHost, then go to the “Hosting” tab. Then head to the “cPanel” tab and select the “Install WordPress” icon under the “website” section near the bottom of the page.
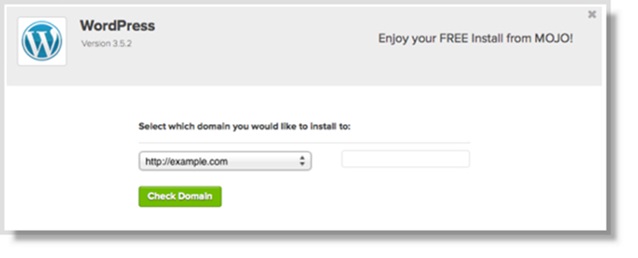
- Once in the installation process, you will have to decide which domain you will want to install WordPress on. Then click the green “Install” button to begin the WordPress install. Then select which domain you wish to install from the dropdown menu to the domain and then click “Check Domain”.
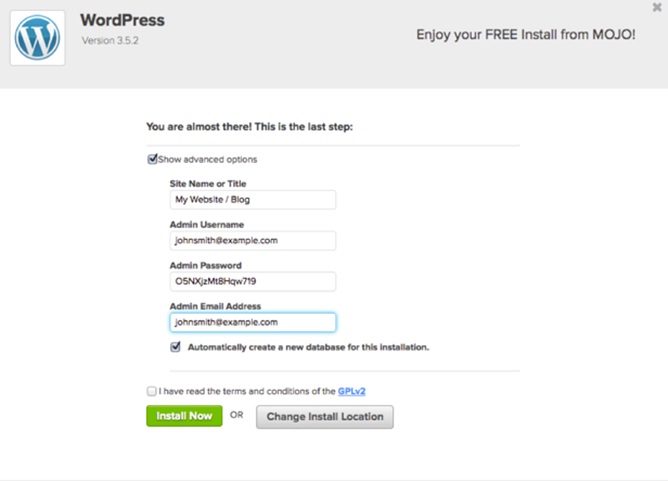
- Now, you will see “Advanced Options.” This is where you choose your username and password for your WordPress website. You should choose something secure. Websites receive many hackers every day that try to hack websites so be sure to choose a unique username & password. Create a username that is a combination of different letters, numbers, and anything else you can use. You will want to check “Automatically create a new database for this installation” as well, unless you already have a different database (if you don’t know, then you probably do not).
- Click the “Install Now.” button to begin the installation.
- Remember to save your username and password.
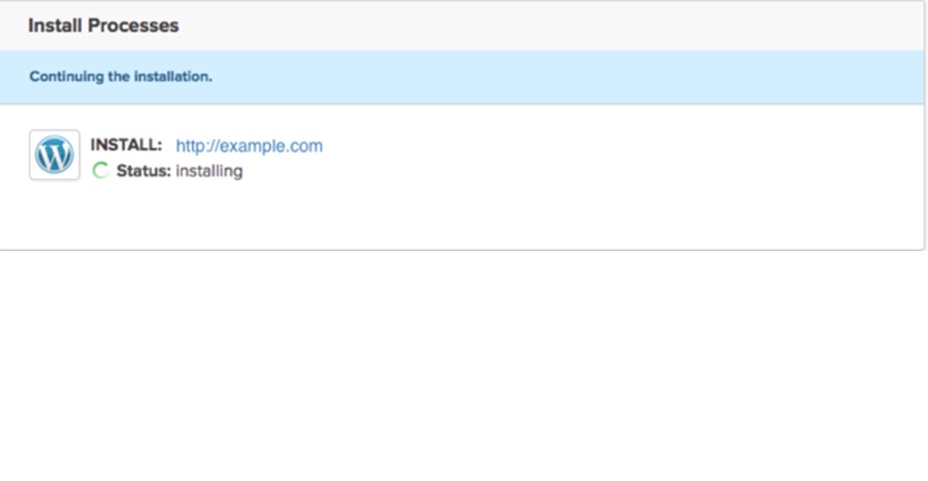
- You will then see a page indicating the status of your install.
Video for 1 Click Installs- here: https://www.youtube.com/watch?v=Qu2_cIWQGLc
Yay! So you now have a self-hosted WordPress blog or website! Now it’s time to make it look pretty and add some dimension.
Step 4: Choose a premium WordPress Theme
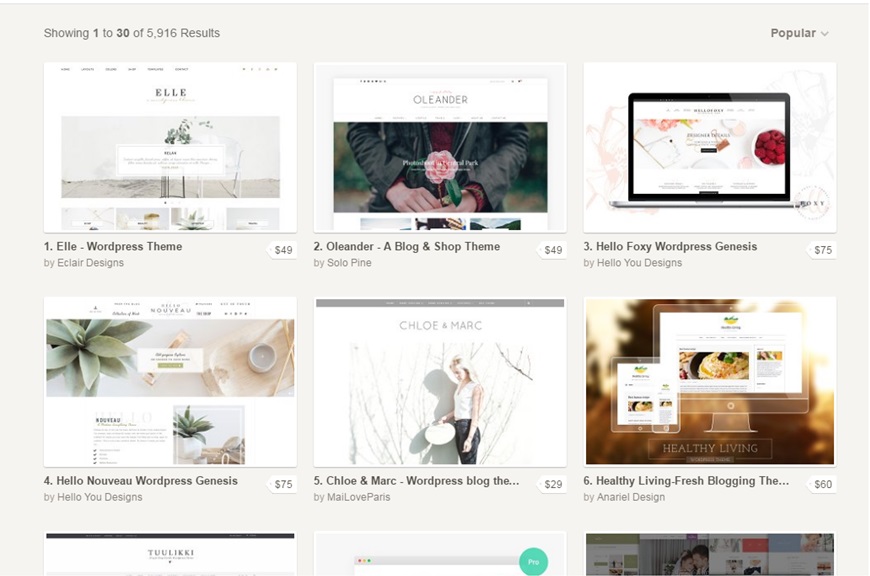
While there are free WordPress themes available, I would recommend using a premium theme from the beginning. Many times premium themes are more functional, user friendly, SEO friendly and come with plugins. I have always used a premium theme. And starting with one from the beginning makes your life a whole lot easier in the future because migrating later to a premium theme could be a huge pain! I would recommend using Creative Market . They have some amazing vibrant themes plus you can search by the type of website you’re wanting to design!
Step 5. Start Blogging!
Your blog is now up and you can view it online. Once you are ready to start designing your blog and posting you will need to login through WordPress here: http://www.YOURDOMAINNAME.com/wp-admin and use the login and password that you created. Once logged in, start adding posts & pages!
Tips
- You can add posts by clicking “Posts” on the left hand side menu of WordPress.
- You can add pages by clicking “Pages” on the left hand side menu of WordPress.
- I recommend using Boardbooster for your Pinterest promotion. I love it!

